Video is one of the most powerful tools for real estate agents to showcase their properties and attract more buyers. But you don’t need to invest in expensive equipment or hire a professional videographer to create stunning video listings. You can do it yourself with your smartphone!
In this blog post, we will show you how to film professional real estate videos with your phone in a few simple steps. You will learn how to set up your phone, choose the right angles, lighting, and sound, edit your footage, and upload it to a property portal that specializes in video property tours. By following these tips, you will be able to create video listings that stand out from the crowd and sell more properties faster.
Step 1: Prepare your phone
Before you start filming, you need to make sure your phone is ready for the task. Here are some things you should do to prepare your phone:
- Ensure your phone has enough battery and storage space: You don’t want to run out of power or memory in the middle of filming. Charge your phone fully and delete any unnecessary files or apps that might take up space.
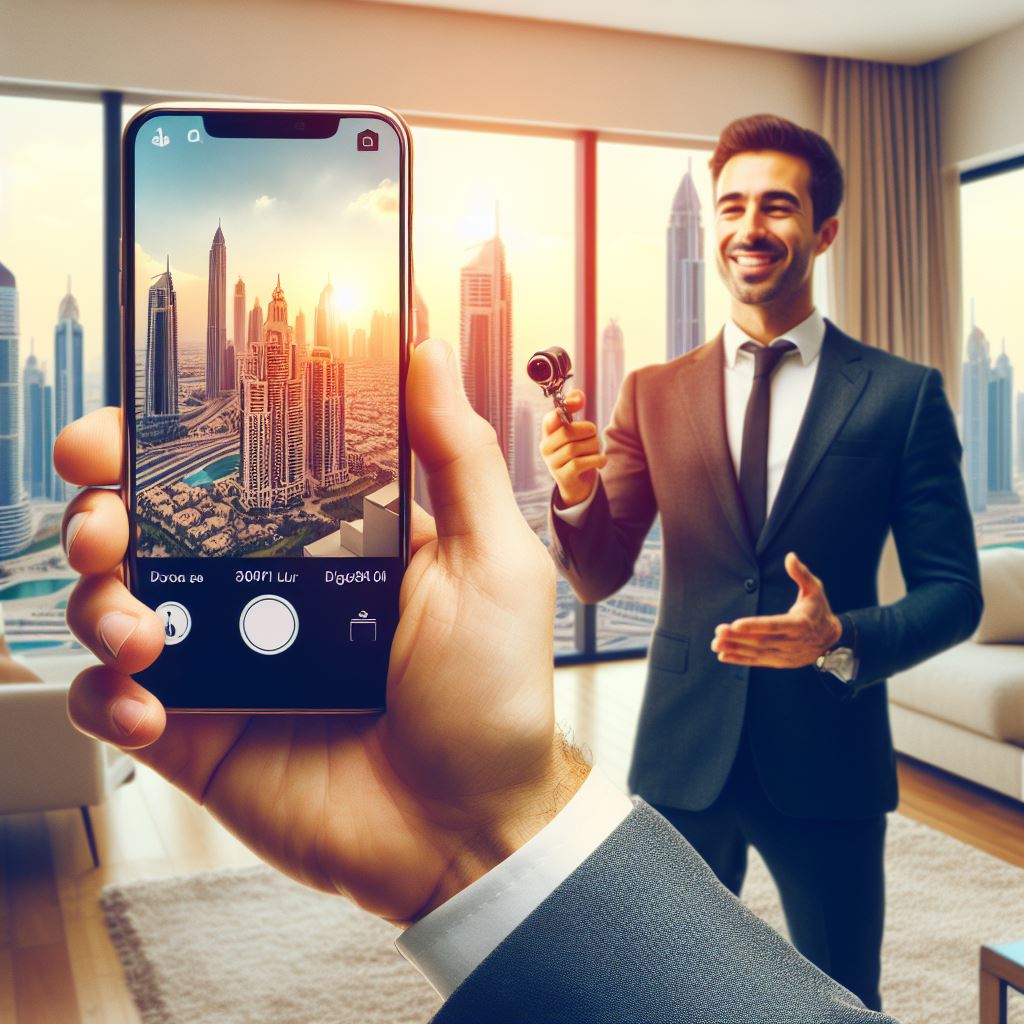
- Use a tripod or a stabilizer to keep your phone steady: A shaky video will look unprofessional and make your viewers dizzy. You can use a tripod or a stabilizer to hold your phone firmly and avoid any unwanted movements. You can also use a remote control or a timer to start and stop recording without touching your phone.
- Clean your camera lens and adjust the settings: A dirty or smudged lens will affect the quality and clarity of your video. Use a soft cloth or a lens cleaner to wipe your lens gently. Then, adjust the settings of your camera app to suit your needs. Choose the highest resolution and frame rate possible to capture more details and smoothness. You can also adjust the exposure, focus, and white balance to get the best results.
- Film in portrait mode for a wider view: Portrait mode is the vertical orientation of your phone. Most videos will be uploaded to social media sites like Instagram, TikTok, and YouTube shorts. These platforms are primarily used on mobile devices and hence a portrait video will offer an immersive experience as oppose to landscape mode. You can film in landscape mode if you’re planning on uploading directly to YouTube.
Step 2: Prepare the property
With your phone ready, let’s prepare the property. Here are some things you should do to prepare your phone:
- Declutter and clean the rooms: A cluttered or dirty property will look unappealing and distract your viewers from the main features. You should remove any unnecessary or personal items, such as clothes, toys, papers, etc. You should also clean the floors, windows, counter tops, and other surfaces to make them shine. Always ensure the toilet lids are closed! No one needs to see that.
- Open the curtains and turn on the lights: Good lighting is essential for a good video. You should use natural light as much as possible, as it will make your property look more spacious and inviting. Open the curtains and blinds to let in the sunlight and avoid any dark or shadowy areas. Also turn on the lights, especially in the rooms that have less natural light, such as the bathrooms, closets, or basements.
- Highlight the best features and amenities: You want to show your viewers what makes your property special and valuable. Highlight the best features and amenities of your property, such as the balcony, views, pool, garden, etc. You should also emphasize the size, layout, and condition of your property, such as the number of bedrooms, bathrooms, closets, etc.
- Remove any personal items or distractions: You want to make your viewers feel like they are visiting your property, not your home. Therefore, remove any personal items or distractions that might make your viewers feel uncomfortable or uninterested, such as family photos, religious symbols, political signs, etc. Ensure there are no noises or interruptions that might ruin your video, such as the TV, the radio, the phone, the doorbell, etc.
- Plan your route and sequence of shots: You want to make your video flow smoothly and logically. You should plan your route and sequence of shots before you start filming, so you know where to go and what to show. You should start with an exterior shot of the property and the neighborhood, then move inside and show the rooms in a logical order, such as from the entrance to the living room, to the kitchen, to the bedrooms, etc. You should also end with a closing shot of the property and a call to action.
Step 3: Filming time!
With everything ready to go, it’s time to film! Lights, Camera, Action!
- Start with an exterior shot of the property and the neighborhood: The exterior shot is the first impression of your property, so make it attractive and inviting. You can show the front of the property, the street, and even the surroundings. You should also mention the location, price, and main selling points of your property, like the size, the style, and views.
- Move slowly and smoothly from room to room: The interior shots are the main part of your video. You want to make them clear and comprehensive. Move slowly and smoothly from room to room, without rushing or skipping any important areas. You should also avoid any sudden or jerky movements, such as panning, zooming, or tilting, as they will make your video look amateurish and disorienting.
- Use wide shots to show the layout and size of the rooms: The wide shots are the overview of the rooms. You want to make them spacious and appealing. You can easily switch to a wide angel lens while filming if you have more than one back camera on your phone. Most phone have a wide lens and you can use it to show the layout and size of the rooms, as well as the furniture and the decoration. Another tip is to show the windows and the doors, as they will indicate the natural light and the access to other rooms or areas.
- Use close-ups to show the details and quality of the fixtures and fittings: The close-ups are the details of the rooms. You want to make them high-quality and impressive. Use close-ups to show the details and quality of the fixtures and fittings, such as the faucets, the appliances, the counter tops, the flooring, etc. You should also show any special or unique features, such as the fireplace, the chandelier, the artwork, etc.
- Different angles and perspectives to create interest and variety: The angles and perspectives are the creativity of your video. You want to make them interesting and varied. Think from your viewer’s perspective to create interest and variety in your video. Try things like bird’s eye view, worm’s eye view, diagonal view, etc. You should also use different heights and distances to show different aspects of your property, such as the ceiling, the floor, the walls, etc.
- Add captions to explain the benefits and features of the property: The captions are the voice of your video. Make them short and easy to read. Most viewers watch videos on mute, hence your captions will ensure they stay engaged and keep watching. In the video, explain the benefits and features of your property, location, price, size, style, and amenities. Every property has a story so bring it to life using positive and descriptive words to describe your property. Some words you can use are cozy, spacious, modern, elegant, etc. You should also avoid any negative or vague words, such as small, old, average, etc.
Step 4: Edit your video
After you have filmed your property, you need to edit your video to make it more engaging and professional. Here are some things you should do to edit your video:
- Use a video editing app on your phone or a computer: You don’t need to use a complex or expensive software to edit your video. Video editing apps like CapCut and Adobe Rush allow you to easily edit videos on your phone. These apps are easy to use and have many features and functions to help you edit your video like transition, overlays, and built-in music library.
- Trim and cut your clips to remove any unnecessary or shaky parts: This might seem obvious but many agents make this mistake. Make your video concise and smooth by trimming and cutting your clips to remove any unnecessary or shaky parts. You can remove clips like the beginning and the end of each clip, any pauses or mistakes, any blurry or dark scenes. To make editing easy, arrange your clips in the order and sequence that you planned before.
- Add transitions and effects to make your video more engaging and professional: Add transitions and effects to make your video more engaging and professional, such as fades, wipes, slides, zooms, etc. These transitions and effects will help you connect your clips and create a seamless and dynamic video. Use these sparingly and appropriately, as too many or too flashy transitions and effects will make your video look cheesy and distracting.
- Add music and sound effects to enhance the mood and atmosphere: You want to make your video more appealing and attractive. You should add music and sound effects to enhance the mood and atmosphere of your video, such as background music, ambient sounds, voice-overs, etc. These music and sound effects will help you create a mood and atmosphere for your property, such as relaxing, cheerful, luxurious, etc. Try to choose music and sound effects that match your property and your audience, as well as the tone and pace of your video.
- Adjust the color, brightness, and contrast to make your video more appealing: By adjusting the color, brightness, and contrast of your video, you can make it more appealing and attractive. Enhancing the colors, increasing the brightness, reducing the contrast, etc. These adjustments will help you improve the quality and visibility of your video, as well as create a consistent and harmonious look.
- Keep your video short and sweet, ideally between 1 to 2 minutes: Viewers have a short attention span hence make your video concise and effective. This is the optimal length for a video listing, as it will capture your viewers’ attention and interest, without boring or overwhelming them. Include the most important and relevant information and features of your property, and avoid any unnecessary or repetitive details.
Step 5: Upload!
With the video edited, you’re ready to upload it to a property portal that supports video listings and social media. Here are some things you should do to upload your video:
- Choose a property portal that supports video listings and video property tours: One of the best options is Viewit, a platform that allows you to showcase your properties with video tours and reach more buyers. Viewit is the first and only property portal that focuses on video property tours, and it has many features and benefits for real estate agents and buyers, such as:
- Allowing you to upload unlimited video tours for free, without any commissions or transaction fees.
- A user-friendly and intuitive mobile listing app, where you can easily create and manage your video listings.
- A large and active community of buyers, who are looking for properties with video tours and who can contact you directly.
- A smart and powerful search engine, where you can filter and sort your results by location, price, size, type, features, etc.
- Upload your video to Viewit and fill in the details and description of your property: To create a compelling and attractive upload your video to Viewit and fill in the details and description of your property, such as:
- The title and description of your video listing, which should be catchy and descriptive, and include the main selling points of your property, such as the location, the price, the size, the style, etc.
- The category and the type of your property, should match the characteristics and the features of your property, such as residential or commercial, apartment or villa, etc.
- The location and the address of your property, which should be accurate and precise, and include the city, the area, the street, the building, the floor, etc.
- The price and the availability of your property, which should be realistic and competitive, and include the total price, the monthly rent, the deposit, the commission, etc.
Conclusion
Video is a great way to showcase your properties and attract more buyers. And you don’t need to spend a lot of money or time to create professional video listings. You can do it yourself with your smartphone and a few simple steps.
By following this guide, you will be able to film amazing real estate videos with your phone that will impress your potential buyers and sell more properties faster.
If you still struggle to find the time or might not have the skill to film videos, you can sign up to Viewit Studio Pro! This is where we visit the property, film, edit, and upload the listing on Viewit for you!
All we require is access to the property, a permit number, and other property details like the size, bedrooms, bathrooms etc.
If you’re interested in Viewit Studio Pro, you can fill out this short form and we’ll get in touch!